How to Fix iPhone 15 Back Glass Panel Cracking Issue
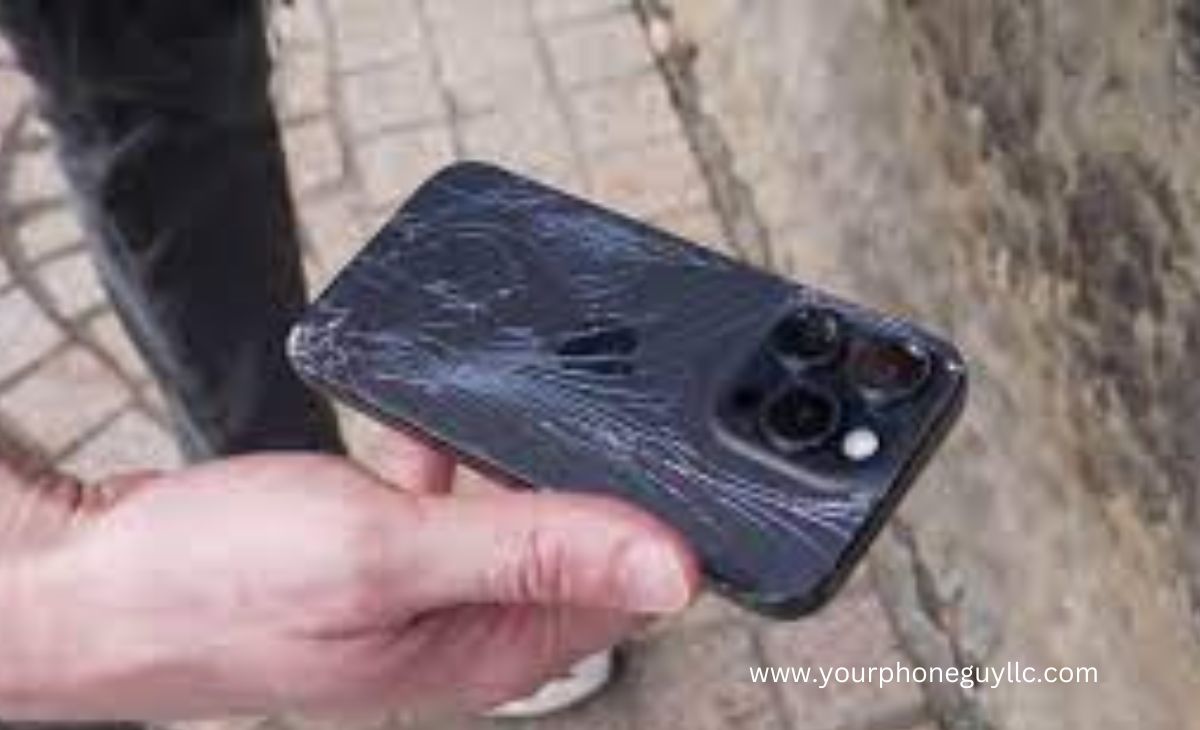
Do you have a cracked back glass panel on iPhone 15, resulting in aesthetic problems and danger concerns? Fear not! This will be a comprehensive guide on how to unbrick your device and restore it to its original condition. You can do this on your own, and no more expensive repair bills or replacement of components will be necessary.
Here's what you'd have to do in a nutshell:
Select the Right Tools
Stay Safe
Power Off Your iPhone
Get the Right Replacement Parts
Removing the Broken Glass
Cleaning the Phone
Applying the New Panel
Testing Your iPhone
Reassembly
Final Inspection
Power On and Enjoy
By following these steps, you can easily handle your iPhone's broken glass panel without taking it to a phone repair shop. So, let's get started.
Materials and Tools
Make sure you have the following materials and tools ready before diving into the repair process:
Original or premium quality replacement part
Screwdriver
Plastic spudger or opening tool
Heat gun or hair dryer
Isopropyl alcohol and a microfiber cloth
Safety goggles and gloves
Tweezers
Plastic bags or containers for organizing screws
Step 1: Safety Precautions
It's important to take precautions when dealing with a cracked glass panel. Ensure you wear safety goggles and gloves to protect yourself from glass shards.
Step 2: Turn Off Your iPhone
Turning off your phone is a really important step because it will save you from electrocution.
Step 3: Gather the Necessary Replacement Parts
For a smooth repair process, try getting a genuine or high-quality replacement for your iPhone 15’s cracked back glass panel. Make sure that it's compatible with your iPhone's model.
Step 4: Remove the Broken Glass
The breakage can be treated by warming up the edges of the cracked glass panels using a hair dryer. This allows you to remove the glass from your phone's frame effortlessly.
Use a plastic spudger or open up any small opening that could easily fit between your mobile phone's frame and glass.
Slowly lift off the broken pieces near the edge.
However, as you lift the glass, be sure to look out for anything like adhesives or screws which are keeping it in position. Use tweezers to remove the screws and keep them packaged in plastic bags or boxes at this point.
Step 5: Clean the Phone
Once you've removed the broken glass, use isopropyl alcohol and a microfiber cloth to clean any adhesive residue or debris from the phone. Ensure it's free from any dust or particles for proper adhesion. Thorough cleaning is essential for a successful repair services process.
Step 6: Apply New Back Glass Panel
Position the new back glass panel on your iPhone 15 correctly, aligning it with the phone's frame. Take your time to ensure it fits perfectly.
Carefully press the new glass into place, ensuring it adheres properly to the phone's frame.
Reattach any screws or adhesive as needed to secure the new panel. Refer to your earlier notes and organization of screws to make sure you put them back where they belong.
Step 7: Test Your iPhone
Before fully reassembling your iPhone, it's essential to test it to ensure everything is functioning correctly. Check for issues like connectivity problems or loose components.
Step 8: Reassemble Your iPhone
Now, it's time to reassemble your iPhone. Reattach any components you removed, such as the SIM card tray and screws, ensuring everything is in its proper place. Be sure to follow your organization system for screws and other parts to prevent any further phone damage.
Step 9: Final Inspection
Conduct a thorough inspection to ensure the repair was successful. Check for any remaining adhesive residue or misalignment. Make sure everything is secure and in place.
Step 10: Power On and Enjoy
With the repair complete, power on your iPhone and enjoy your device's restored functionality. Be cautious to avoid future damage to your iPhone 15's back glass panel.
Conclusion
In conclusion, addressing the iPhone 15's back glass panel cracking issue is possible with the right tools and guidance. By following these step-by-step instructions, you can successfully repair your device, saving both time and money. Remember to prioritize safety throughout the process, and if you ever feel unsure, consider seeking professional assistance.
If you also want some tips on protecting your iPhone camera lens, [click here].
By taking the time to repair your iPhone 15's back glass panel, you can extend the life of your device and save money on expensive repairs or replacements. With patience, attention to detail, and the right tools, you can bring your iPhone back to its former glory, ensuring it continues to serve you well.